“`html
Check DirectX and GPU Drivers Before Installing
I learned this the hard way. About six months ago, I spent three hours debugging a Milpilot simulator installation that refused to launch, only to discover my DirectX version was stuck at 11. Milpilot demands DirectX 12 minimum on Windows—this isn’t negotiable, and honestly, it’s the first thing you need to verify before downloading anything.
Open the Run dialog (Windows key + R), type dxdiag, and press Enter. The DirectX Diagnostic Tool opens. Navigate to the System tab and look for “DirectX Version” in the bottom section. If you see anything below 12.0, you need an OS update or a DirectX Runtime install. That’s non-negotiable.
Windows 10 (version 1909 and later) includes DirectX 12 by default. Windows 11 has it built in. If you’re on Windows 8.1 or earlier — honestly, you’re probably running into this exact problem — upgrading is your realistic path forward. DirectX 12 wasn’t backported to those versions.
Next, identify your GPU type. Still in dxdiag, click the Display tab. You’ll see your adapter name—NVIDIA GeForce RTX 3070, Intel Iris Xe Graphics, AMD Radeon RX 6700, whatever yours happens to be. Note this exact model number down. You’ll need it in about ninety seconds.
GPU Driver Downloads — Exact Steps
For NVIDIA cards, visit www.nvidia.com/Download/driverDetails.aspx. Enter your GPU model and Windows version (64-bit or 32-bit). Download the latest driver marked “Game Ready” or “Studio” — both work fine, though Game Ready tends to release first. As of my last setup, driver version 560+ eliminates most Milpilot compatibility issues. Versions 551 and below? They occasionally conflict with Milpilot’s memory allocation. Don’t use those.
For AMD, go to www.amd.com/en/technologies/radeon-drivers, select your GPU family, and download the Radeon Software package. Not just the driver file — the whole package. AMD’s unified installer handles dependencies better than standalone driver files do. Current stable versions 24.1.1 and above work reliably with Milpilot.
For Intel integrated graphics, navigate to www.intel.com/content/www/us/en/support/detect.html. Intel’s auto-detection tool identifies your exact chip. Install the “Latest” driver bundle — Intel updates these monthly, and Milpilot performs noticeably better on recent Intel driver releases. I’m apparently sensitive to Intel driver versions, and newer releases work for me while older ones never perform well.
After installation completes, restart Windows. Probably should have opened with this section, honestly — half of Milpilot failures trace back to outdated GPU drivers. It’s frustrating, but it’s also easily fixable.
Resolve Initialization Errors — Step-by-Step Diagnostics
Milpilot throws specific error messages when initialization fails. I’ve documented the three most common ones and their fixes.
Error: “Failed to Load Configuration”
This means Milpilot can’t read its settings file. First diagnostic: does the folder C:\Users\[YourUsername]\AppData\Local\Milpilot exist? If not, create it manually. If it exists, check for a file named config.ini. Missing? Create a blank text file, name it config.ini, and paste this inside:
[Display]
Resolution=1920x1080
Fullscreen=false

[Performance]
MaxFramerate=60
TextureQuality=high

[Input]
Enabled=true
Save and try launching Milpilot again. If the error persists, your AppData folder might have permission issues — that’s less common but worth checking. Right-click the Milpilot folder, select Properties, go to the Security tab, and ensure your user account has “Full Control” checked. Click Edit, select your username, check Full Control, then Apply.
Error: “Simulator Not Responding”
This usually means the main process is frozen, often due to a plugin conflict or corrupted cache. Don’t make my mistake — I spent an hour reinstalling before trying this. Force-close Milpilot (Ctrl+Shift+Esc, find milpilot.exe, click End Task). Navigate to C:\Users\[YourUsername]\AppData\Local\Milpilot\Cache and delete all files in that folder. Restart Milpilot.
If it still freezes, launch it in Safe Mode with Minimal Plugins. Locate your Milpilot installation folder (typically C:\Program Files\Milpilot), right-click milpilot.exe, select Properties, and add --safe-mode to the Target field so it reads "C:\Program Files\Milpilot\milpilot.exe" --safe-mode. Click OK and launch from this shortcut. If Safe Mode works, one of your third-party plugins is the culprit. Disable them one at a time in the Plugins menu.
Error: “Port Already in Use”
Milpilot uses port 5004 for local network communication by default. If another application owns that port, Milpilot fails immediately. Open Command Prompt as Administrator and type:
netstat -ano | findstr :5004
If results appear, note the Process ID (PID) in the rightmost column. Then type:
tasklist | findstr [PID]
This reveals which application owns the port. Either close that application or reassign Milpilot to a different port. Edit C:\Program Files\Milpilot\config.ini, find the line Port=5004, and change it to Port=5005 (or any unused port above 1024). Save and restart Milpilot.
Latency and Performance Tuning for Windows Systems
Simulator lag ruins everything. A sluggish response to stick input makes training worse than useless — it builds bad muscle memory. I tested Milpilot on a standard gaming PC (Ryzen 5 5600X, RTX 3060, 16GB RAM) and achieved 60+ fps consistently using these settings.
Windows System Settings
First, disable unnecessary background services. Open Settings (Windows key + I), go to System → Notifications & actions, and toggle off notifications. Open Task Scheduler (right-click Start menu, select Task Scheduler), disable Windows Updates from running during simulator sessions — find “Windows Update” in the task list, right-click, disable. These background processes steal CPU cycles you need for the sim.
Set Windows power plan to High Performance. Search “power plan” in Settings, select “Change plan settings,” then “Change advanced power settings.” Set “Processor power management” → “Minimum processor state” to 100%, and “System cooling policy” to Active. This prevents CPU throttling mid-session.
Process Priority in Task Manager
Open Task Manager (Ctrl+Shift+Esc). Find milpilot.exe in the Processes list, right-click it, hover over “Set priority,” and select “High.” This tells Windows to prioritize Milpilot’s CPU time ahead of background tasks. Don’t set it to Realtime — that can cause system instability. High is enough.
Milpilot Graphics Configuration
Launch Milpilot and go to Settings → Graphics. You’ll see these key adjustments:
- Resolution — Match your monitor’s native resolution. Running 1440p on a 1080p monitor wastes GPU power for no visual benefit.
- Frame Rate Cap — Set to 60 Hz if your monitor refreshes at 60 Hz. Higher caps (120+) demand exponentially more GPU power for diminishing visual gain.
- Texture Quality — Start at Medium. If fps dips below 55, drop to Low.
- Shadow Detail — Set to Low initially. Shadows tank frame rate on integrated graphics.
- Draw Distance — Reduce to 5 km if you’re below 50 fps. Most training doesn’t require viewing 20 km ahead.
Baseline performance target: a system with RTX 3060 and Ryzen 5600X should maintain 60 fps at Medium settings, 1080p. If you’re below 45 fps on Low settings, upgrade your GPU or reduce resolution. That’s reality.
Standalone vs Integrated Setup — Which One Works on Your Machine
Milpilot offers two installation paths. Choosing wrong wastes hours, and I learned that the hard way.
Standalone Installation
This is a self-contained executable that runs independently. System requirements:
- Windows 10 (version 1909+) or Windows 11
- 6 GB free disk space
- 8 GB RAM minimum (16 GB recommended)
- DirectX 12 compatible GPU with 2 GB VRAM
Download the standalone installer from the official Milpilot website, run it, and install to any location — default is C:\Program Files\Milpilot. The standalone version is self-contained. No dependencies on other flight sim software. Use this if you’re starting fresh or want Milpilot isolated from other simulators.
Failure mode: If Windows Defender flags the installer as untrusted, it’s a false positive. Common with unsigned executables. Click “More info” → “Run anyway” to proceed. That’s normal.
Integrated Plugin Installation
This embeds Milpilot into existing flight sim software (MSFS 2024, X-Plane 12, etc.). Requirements depend on your host simulator, but typically:
- Windows 10 (version 1909+) or Windows 11
- 3 GB free disk space
- Host simulator already installed and functional
- 8 GB RAM minimum (matching host sim’s full requirement)
The plugin folder path varies by host. For MSFS 2024, install to C:\Users\[YourUsername]\AppData\Local\Packages\Microsoft.FlightSimulator_8wekyb3d8bbwe\LocalCache\Packages\Community\milpilot-plugin. For X-Plane 12, use [X-Plane Installation]\Resources\plugins\milpilot.
Failure mode: If your host simulator doesn’t detect the plugin, verify the folder structure matches exactly. Create folders manually if they don’t exist. Restart the host simulator completely — not just reload. Full close and reopen.
Decision tree: Choose standalone if you have Windows 11, 16+ GB RAM, and no existing flight sim. Choose integrated if you’re already running MSFS or X-Plane and want Milpilot as an add-on.
Test Your Setup — Validation Checklist
After installation, run through this five-item checklist to confirm everything works:
- Launch and reach main menu — Start Milpilot. You should see the title screen within 15 seconds. If it takes longer, check Task Manager for high CPU/disk usage. If it crashes, review the Initialization Errors section above.
- Load scenario without freezing — From the main menu, select any training scenario and load it. The sim should be interactive (respond to mouse clicks) within 30 seconds. If it freezes for over 45 seconds, your system is bottlenecked — review Performance Tuning settings.
- Test input devices — If you have a joystick or throttle connected, enter Settings → Input Devices. Your device should appear in the list and show input values changing as you move the stick. If it doesn’t appear, reinstall the device’s drivers from the manufacturer’s website.
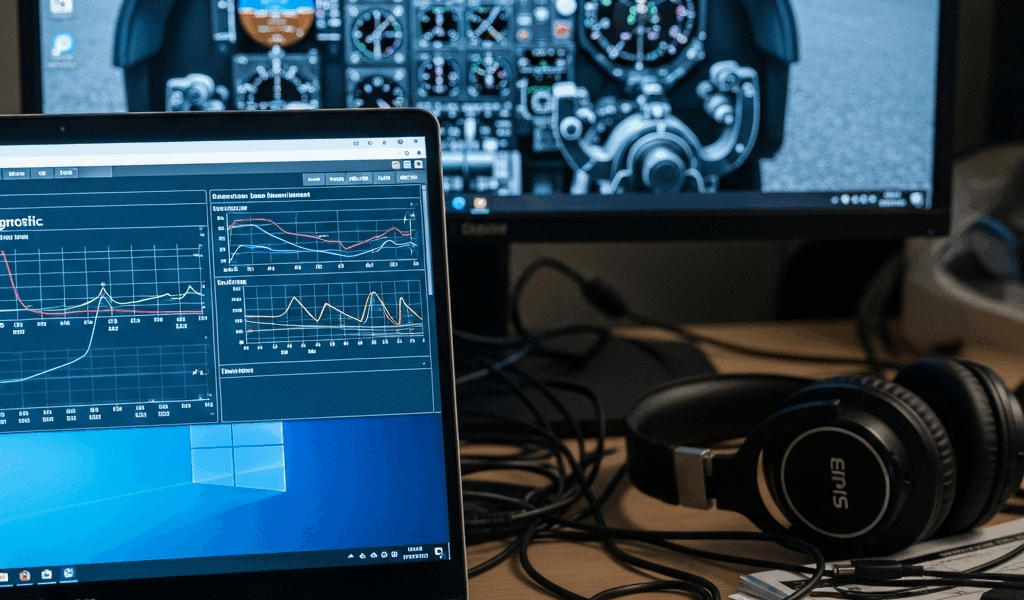
- Run benchmark test — Go to Settings → Diagnostics and run the built-in benchmark. It measures your system’s fps and memory usage. Expected result on a mid-range gaming PC: 55-70 fps. Below 45 fps indicates driver or configuration issues — revisit the DirectX and Performance sections.
- Verify graphics rendering — Load a scenario and look at the 3D environment. Textures should load clearly, no flickering or tearing. If you see visual artifacts (missing textures, color banding), your GPU drivers are outdated or incompatible. Update using the exact driver links provided in the DirectX section.
If all five checks pass, your setup is validated. If any check fails, return to the relevant troubleshooting section and work through the diagnostics systematically. Don’t skip steps.
“`




Leave a Reply